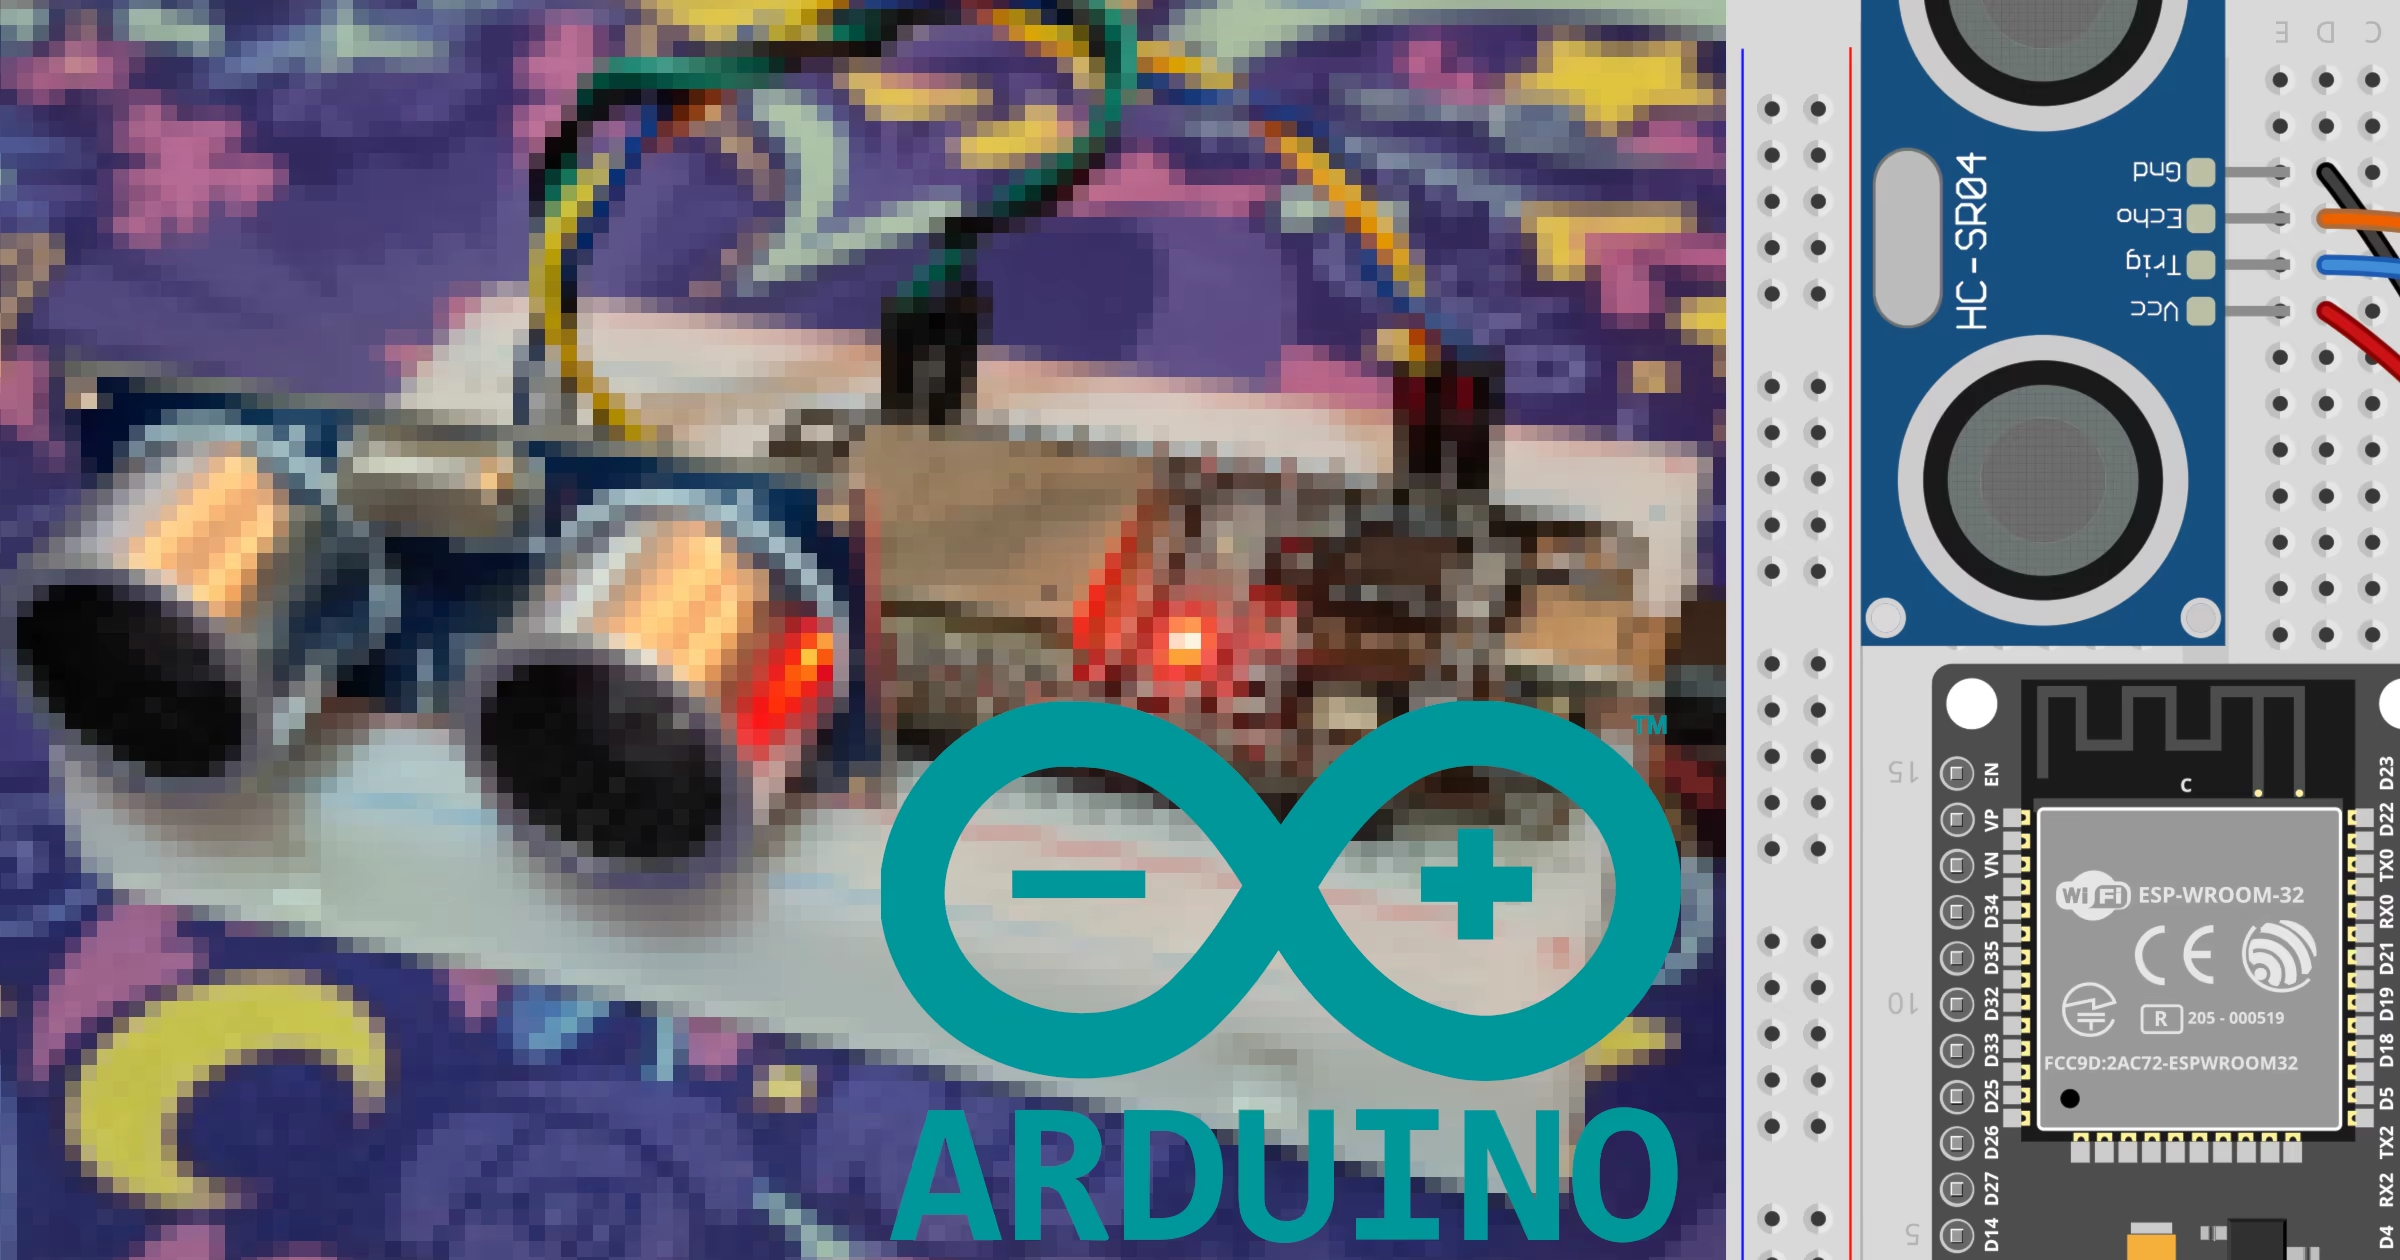
Measuring distances accurately using ultrasonic modules is a common requirement in embedded systems and robotics projects. By combining an ESP32 microcontroller with an HC-SR04 sensor, you can build reliable proximity detectors and obstacle avoidance systems. This tutorial guides you through setting up your workspace, wiring the components correctly, and writing the necessary code using the PlatformIO ecosystem running the Arduino Framework on PlatformIO managed via the PlatformIO Core (CLI).
Required materials
Before you begin assembling the hardware, ensure you have all the necessary components gathered on your workbench. You can source your hardware using the following links:
ESP32
HC-SR04 (3V-5.5V formerly known as HC-SR04P)
Wiring the sensor to the ESP32
Proper wiring is critical to prevent hardware damage, especially since some older variants of the ultrasonic sensor operate strictly at 5V logic. For this tutorial, ensure you use a version that supports lower logic voltages or properly level-shift your signals. Connect the pins according to the wiring table provided below:
ESP32 | HC-SR04 |
3.3V | Vcc |
GND | Gnd |
D22 | Trig |
D23 | Echo |


Project initialization via terminal
Open your command-line interface to set up your project workspace. You can inspect available ESP32 board targets using the command line tool:
pio boards esp32Create a dedicated directory for your project files, move into it, and initialize the PlatformIO project configuring the framework and serial monitor baud rate:
mkdir hcsr04-esp32
cd hcsr04-esp32
pio project init --board esp32doit-devkit-v1 --project-option "framework=arduino" --project-option "monitor_speed=115200"Programming the ESP32
Navigate to your project source folder and open the main source file to insert the application logic. Create or update the contents of src/main.cpp with the implementation below, which triggers the ultrasonic burst and calculates the distance based on the echo pulse duration:
#include <Arduino.h>

const int trigger = 22;
const int echo = 23;

void setup() {
    Serial.begin(115200);

    pinMode(trigger, OUTPUT);
    pinMode(echo, INPUT);
}

void loop() {
    digitalWrite(trigger, LOW);
    delayMicroseconds(2);

    digitalWrite(trigger, HIGH);
    delayMicroseconds(10);
    digitalWrite(trigger, LOW);

    long duration = pulseIn(echo, HIGH, 30000);

    if (duration > 0) {
        Serial.printf("Distance: %.2f cm\n", (duration * 0.0343) / 2.0);
    } else {
        Serial.println("Reading error");
    }

    delay(1000);
}
Building and flashing the firmware
Once your code is in place, compile the project, upload the resulting binary to your microcontroller, and open the serial monitor to view live distance readings using a single command:
pio run -t upload -t monitorRelated tutorials
If you want to explore alternative firmwares or hardware platforms, check out these related guides:
HC-SR04 ultrasonic sensor on ESP32 with MicroPython

HC-SR04 ultrasonic sensor on ESP32 with MicroPython
Learn how to connect and program an HC-SR04 ultrasonic sensor with an ESP32 microcontroller using MicroPython and distance measurement scripts.
HC-SR04 ultrasonic sensor on STM32 with Arduino

HC-SR04 ultrasonic sensor on STM32 with Arduino
Learn how to interface an HC-SR04 ultrasonic distance sensor with an STM32 BlackPill using the Arduino framework and PlatformIO.
HC-SR04 ultrasonic sensor on RPi Pico with Arduino

HC-SR04 ultrasonic sensor on RPi Pico with Arduino
Learn how to interface the HC-SR04 ultrasonic sensor with a Raspberry Pi Pico using the Arduino framework and PlatformIO.