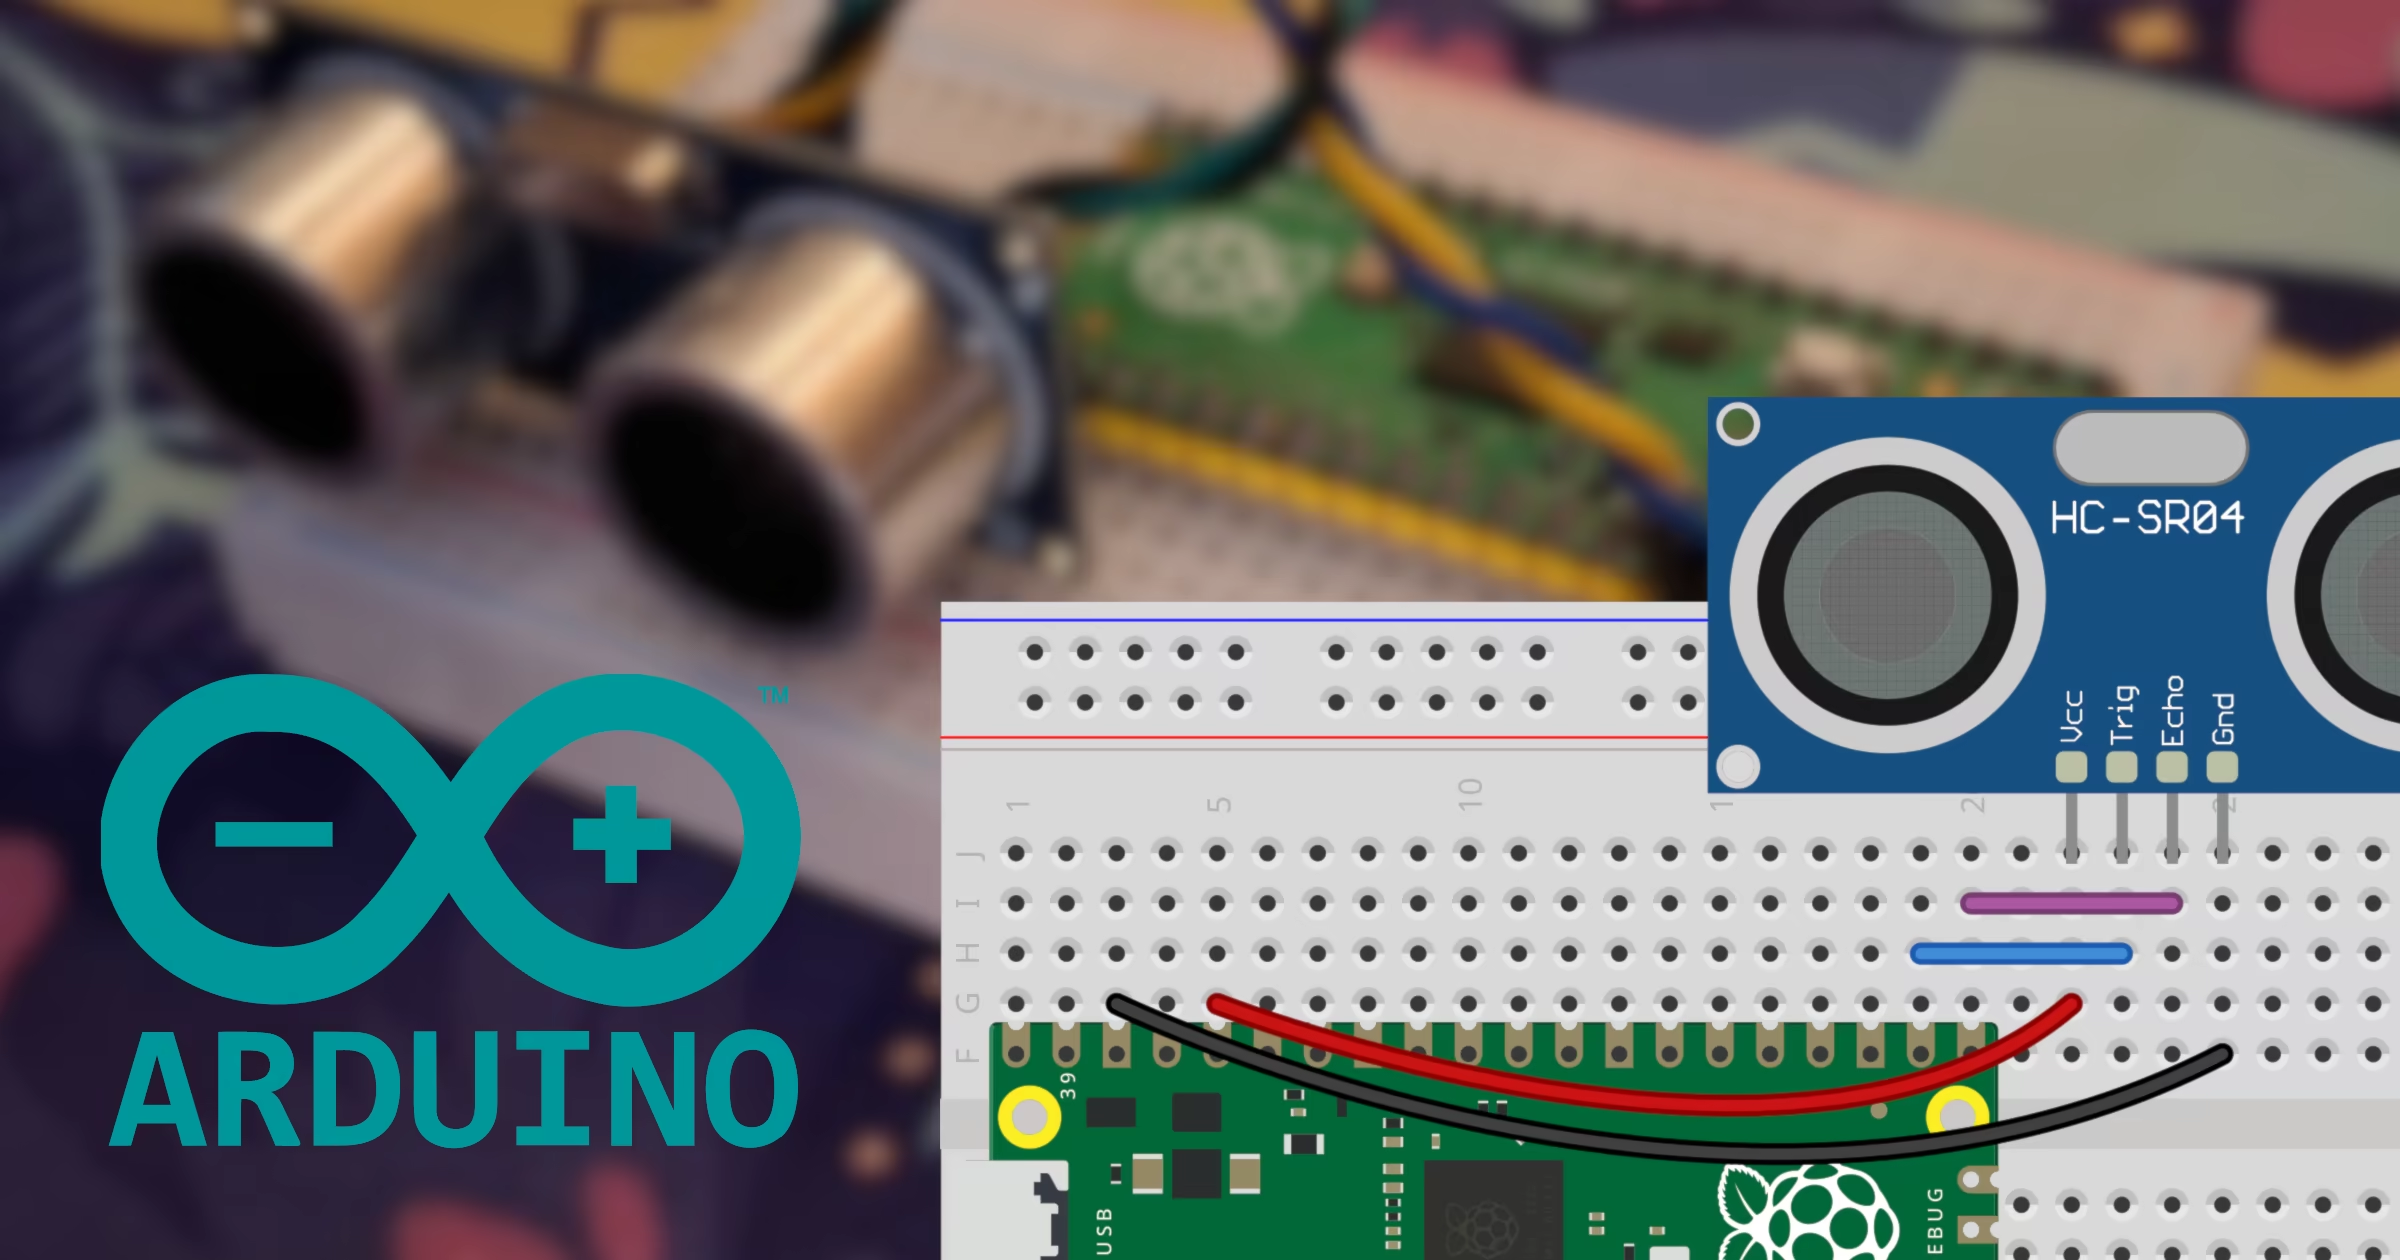
Measuring distance accurately in embedded projects is a common requirement, and the HC-SR04 ultrasonic sensor provides a reliable and cost-effective solution. This tutorial guides you through setting up an HC-SR04 sensor with a Raspberry Pi Pico using the Arduino Framework on PlatformIO. By leveraging PlatformIO and the PlatformIO Core (CLI), you can efficiently manage your code compilation, board configuration, and serial monitoring without relying on the heavier Arduino IDE.
Required Materials
Before wiring your components, make sure you have the necessary hardware ready on your workbench:
-
Raspberry Pi Pico
-
HC-SR04 (3V–5.5V version, also known as HC-SR04P)
Wiring the Sensor
Proper wiring is critical to ensure both the Raspberry Pi Pico and the HC-SR04 operate safely and communicate correctly. Note that you must use the 3V to 5.5V compatible version of the sensor (HC-SR04P) so that it can safely interface with the 3.3V logic levels of the Raspberry Pi Pico without requiring a logic level converter. Follow the connections outlined in the wiring table below:
Raspberry Pi Pico | HC-SR04 |
3.3V | VCC |
GND | GND |
GP17 | TRIGGER |
GP16 | ECHO |
Verify your physical connections against the visual references provided below. The first diagram outlines the breadboard schematics, while the second photo shows a working physical prototype.


Project Initialization
Open your terminal and verify that your environment recognizes the target hardware board by running the board lookup command:
pio boards rpipicoNext, create a dedicated project directory for your workspace, navigate inside it, and initialize a new PlatformIO project configured for the Arduino framework:
mkdir hcsr04-pico
cd hcsr04-pico
pio project init --board rpipico --project-option "framework=arduino"Writing the Firmware Code
Create and open the main source file located at src/main.cpp. Populate it with the following Arduino code, which triggers the ultrasonic burst, measures the echo return time using the pulseIn function, and calculates the distance in centimeters:
src/main.cpp
#include <Arduino.h>

const int trigger = 17;
const int echo = 16;

void setup() {
    Serial.begin(115200);

    pinMode(trigger, OUTPUT);
    pinMode(echo, INPUT);
}

void loop() {
    digitalWrite(trigger, LOW);
    delayMicroseconds(2);

    digitalWrite(trigger, HIGH);
    delayMicroseconds(10);
    digitalWrite(trigger, LOW);

    long duration = pulseIn(echo, HIGH, 30000);

    if (duration > 0) {
        Serial.printf("Distance: %.2f cm\n", (duration * 0.0343) / 2.0);
    } else {
        Serial.println("Reading error");
    }

    delay(1000);
}
Building and Uploading
Before uploading the compiled firmware to your microcontroller, you will need to put Raspberry Pi Pico in BOOTSEL mode before running this command. Just plug the board while pressing BOOTSEL button.
pio run -t upload -t monitorRelated Tutorials
Explore additional guides for working with ultrasonic distance sensors across different platforms and runtimes:

HC-SR04 ultrasonic sensor on RPi Pico with MicroPython
Learn how to connect and program an HC-SR04 ultrasonic distance sensor with a Raspberry Pi Pico using MicroPython and timed pulse functions.

HC-SR04 ultrasonic sensor on ESP32 with Arduino
Learn how to connect and program an HC-SR04 ultrasonic distance sensor with an ESP32 board using the Arduino framework and PlatformIO.

HC-SR04 ultrasonic sensor on STM32 with Arduino
Learn how to interface an HC-SR04 ultrasonic distance sensor with an STM32 BlackPill using the Arduino framework and PlatformIO.