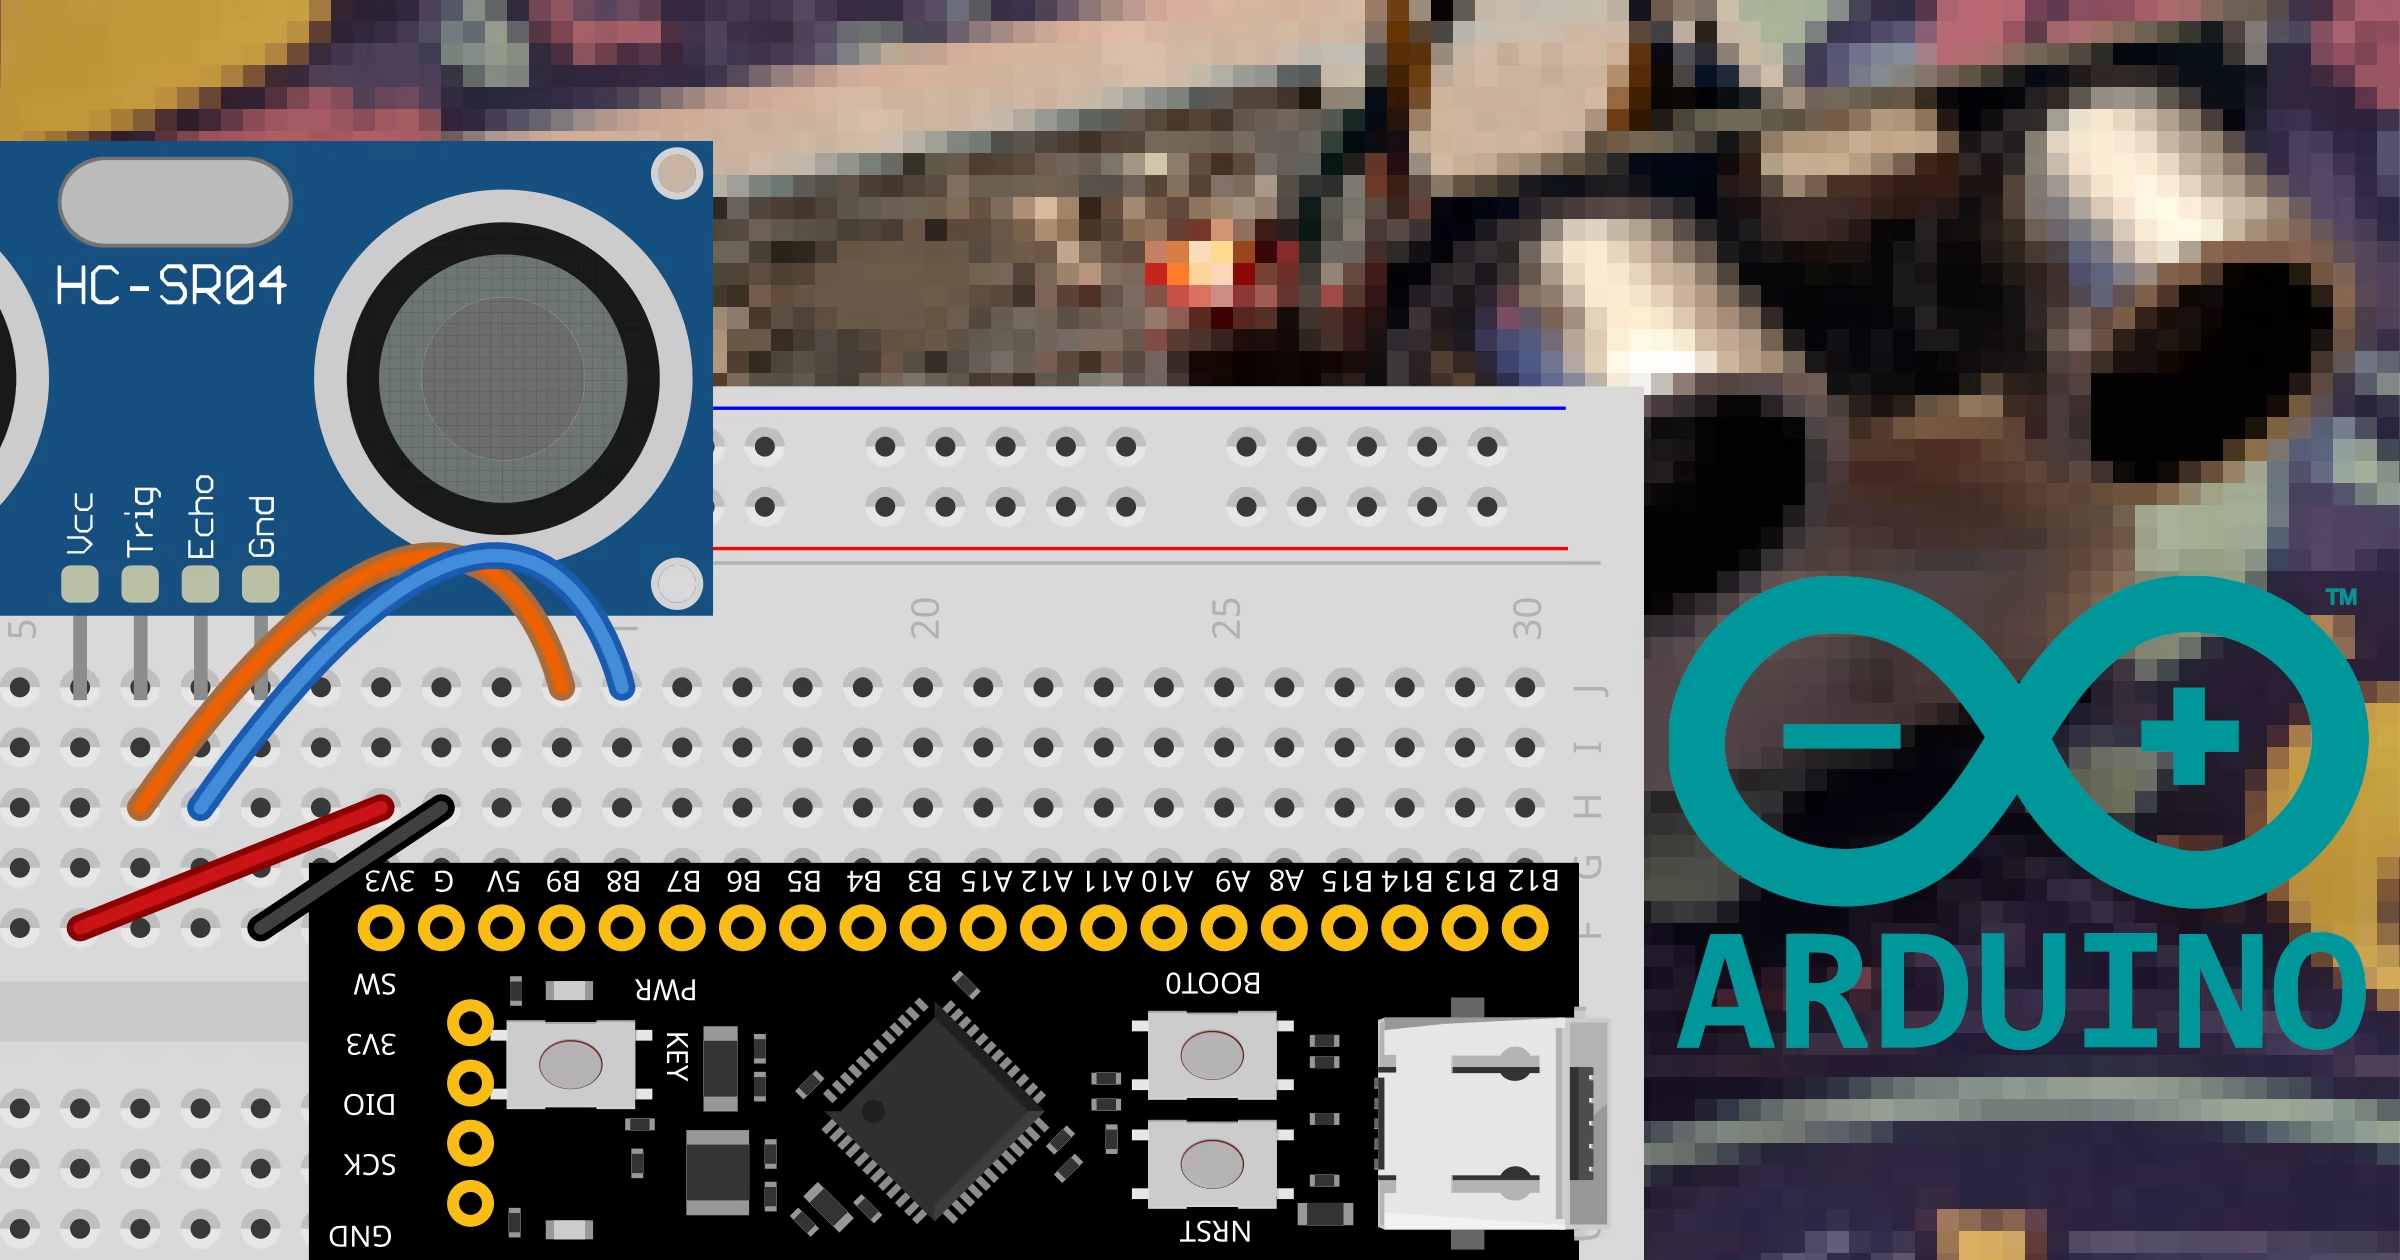
Interfacing distance sensors with modern microcontrollers is a common requirement for robotics and measurement projects. This tutorial covers how to read distance data from an HC-SR04 ultrasonic sensor using an STM32 development board. To write and upload code efficiently, we will set up our workspace using PlatformIO along with the Arduino Framework on PlatformIO and the PlatformIO Core (CLI).
Hardware requirements and wiring
To follow along with this build, you will need a few standard prototyping components. Get your STM32 BlackPill
and an HC-SR04
sensor ready for assembly.
STM32 BlackPill | HC-SR04 |
3.3V | Vcc |
GND | Gnd |
B9 | Trig |
B8 | Echo |
Double-check your connections against the wiring table before powering the board. The diagram below illustrates how to route the power and signal jumpers.

Here is what the finished hardware setup looks like wired up on a workbench:

Project initialization
Open your terminal and create a new directory for the workspace, then move into it:
mkdir hcsr04-stm32
cd hcsr04-stm32
Verify that your environment recognizes the target hardware by checking the available STM32 boards:
pio boards stm32Initialize the PlatformIO project for the BlackPill F411CE board using the Arduino framework:
pio project init --board blackpill_f411ce --project-option "framework = arduino"Configuration and code
Open the generated project and update your platformio.ini configuration file to match the settings below, ensuring proper USB serial support and float formatting:
[env:blackpill_f411ce]
platform = ststm32
board = blackpill_f411ce
framework = arduino
upload_protocol = dfu
monitor_speed = 115200
build_flags =
    -D PIO_FRAMEWORK_ARDUINO_ENABLE_CDC
    -D USBCON
    -Wl,-u,_printf_float
Create and populate your source file at src/main.cpp with the logic to trigger the sensor, measure the echo pulse width, and calculate distance:
#include <Arduino.h>

const int trigger = PB9;
const int echo = PB8;

void setup() {
    Serial.begin(115200);

    pinMode(trigger, OUTPUT);
    pinMode(echo, INPUT);
}

void loop() {
    digitalWrite(trigger, LOW);
    delayMicroseconds(2);

    digitalWrite(trigger, HIGH);
    delayMicroseconds(10);
    digitalWrite(trigger, LOW);

    long duration = pulseIn(echo, HIGH, 30000);

    if (duration > 0) {
        Serial.printf("Distance: %.2f cm\n", (duration * 0.0343) / 2.0);
    } else {
        Serial.println("Reading error");
    }

    delay(1000);
}
Run the build command to compile the firmware, upload it to your board via DFU, and open the serial monitor to view live readings:
pio run -t upload -t monitorRelated guides
If you want to experiment with alternative environments or hardware platforms, you can check out how to implement the HC-SR04 ultrasonic sensor on MicroPython:

HC-SR04 ultrasonic sensor on STM32 with MicroPython
Learn how to connect and program an HC-SR04 ultrasonic distance sensor with an STM32 BlackPill board using MicroPython and the machine module.
You can also check out how to interface the HC-SR04 ultrasonic sensor on a Raspberry Pi Pico:

HC-SR04 ultrasonic sensor on RPi Pico with Arduino
Learn how to interface the HC-SR04 ultrasonic sensor with a Raspberry Pi Pico using the Arduino framework and PlatformIO.
Or explore how to set up the HC-SR04 ultrasonic sensor on an ESP32:

HC-SR04 ultrasonic sensor on ESP32 with Arduino
Learn how to connect and program an HC-SR04 ultrasonic distance sensor with an ESP32 board using the Arduino framework and PlatformIO.